

React Native
Build native iOS, Android, and web experiences for Whop using a single React Native codebase. Your apps run directly inside the Whop mobile app and can access native platform features.
How it Works
Whop React Native apps are embedded experiences that run on multiple platforms:
- Mobile (iOS/Android): Apps run natively inside the Whop mobile app with full platform integration
- Web: Apps run in the browser with automatic fallbacks for platform-specific features
- Universal Code: Write once, deploy everywhere with platform-specific optimizations
Your app receives authenticated user context and can make API calls through the Whop SDK. The build system automatically handles platform-specific bundling using Metro for mobile and esbuild for web.
Getting Started
System Requirements
Before you begin, make sure your system meets the following requirements:
- Node.js 22 or later
- pnpm 9.15 or later
To check, run node -v and pnpm -v.
Create Your App
Create a new Whop React Native app using the CLI:
This sets up a new project with the following structure:
Configure Environment Variables
Create a .env.local file in the root directory:
Get these credentials from the Whop Developer Dashboard:
- Go to the Whop Developer Dashboard
- Create a new app or select an existing one
- Copy the environment variables from the app settings
Views
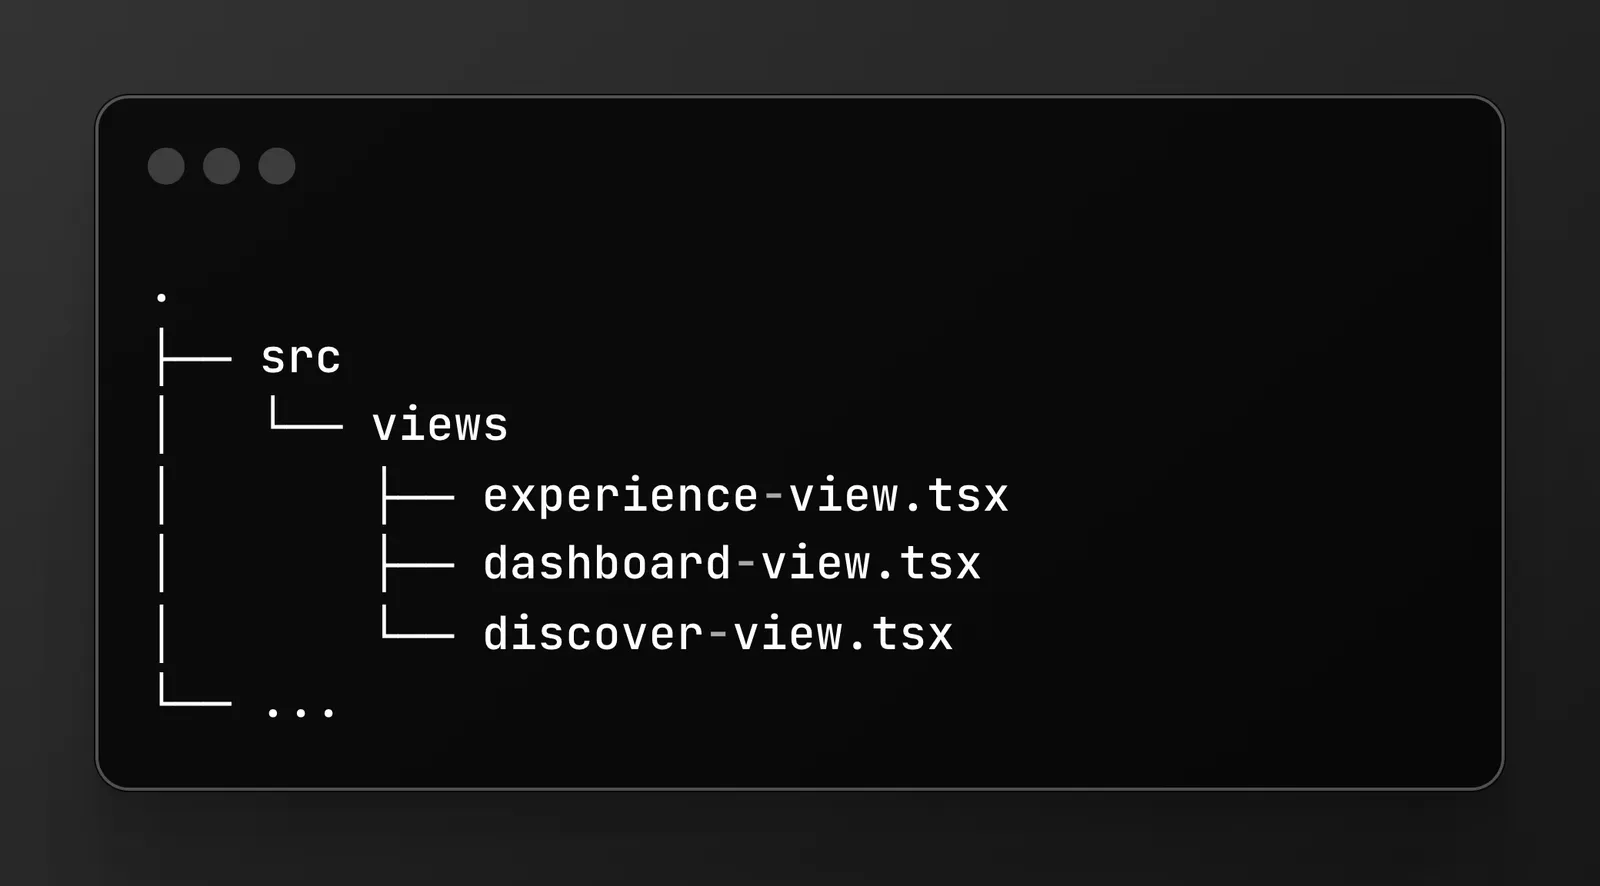
Whop apps use different “views” depending on where they’re displayed. Each view receives authenticated context as props.
Experience View
The main view for experience apps. This is where users interact with your app content.
Props:
experienceId- The experience IDcompanyId- The company that owns this experiencecurrentUserId- The authenticated user (ornullif not logged in)path- Navigation path as array (e.g.,["courses", "123"])params- Query parameters as object
Dashboard View
For company dashboard integrations where sellers manage their business.
Props:
companyId- The company IDcurrentUserId- The authenticated userpath- Navigation path as arrayparams- Query parameters
Discover View (Optional)
For marketplace/discovery experiences where users browse content.
Fetching Data
Using the Whop SDK
This still uses the deprecated SDK - we will update and changes this very soon to be 10x better!
The Whop SDK is available out of the box for client-side data fetching:
We recommend using TanStack Query for data fetching as it handles caching, loading states, and refetching automatically.
Some SDK operations are “server only” and must be called from your API. Check the Quickstart for which methods require server-side execution.
Making Authenticated API Requests
For server-side operations, create API routes and call them from your React Native app:

It’s important to use the apiOrigin for authenticated requests. This ensures
requests go through Whop’s proxy with proper authentication headers.
Example: Check Access to an Experience
This still uses the deprecated SDK - we will update and changes this very soon to be 10x better!
Styling
Color Themes
React Native provides a useColorScheme hook to detect the device’s color scheme. This works automatically in Whop apps:
Using Radix UI Colors
For a comprehensive color system with automatic dark mode, use the useColors hook pattern with Radix UI colors:
Usage:
Navigation
Use the internal navigation APIs to navigate between screens and present modals:
Navigate to a New Screen
The path and params are passed as props to your view component.
Go Back
Present a Sheet/Modal
Get Current Route
Platform-Specific Features
Navigation Bar
Set the navigation bar title and description:
Screen Orientation
Control the screen orientation:
Haptic Feedback
Provide haptic feedback on mobile devices:
Available haptic types:
"selection"- Light selection feedback"impactLight"|"impactMedium"|"impactHeavy"- Impact feedback"notificationSuccess"|"notificationWarning"|"notificationError"- Notification feedback
Local Caching
Store data locally on the device:
Host App Details
Get information about the Whop app:
In-App Purchases
Accept payments directly within your app:
For a complete guide on accepting payments, see the Accept payments documentation.
Using Third-Party Libraries
Most React Native libraries work out of the box. Here are the recommended versions for common libraries:
When adding new libraries, make sure they’re compatible with React Native. Some npm packages are web-only and won’t work on mobile platforms.
Deploying
Build and Deploy
The ship command builds your app for all platforms and uploads it as a development build:
Build for specific platforms:
The ship command deploys as a development build, which is safe to run on
existing production apps. It won’t affect your live users.
Development vs Production Builds
Development Builds:
- Deployed with
pnpm ship - Only visible when “dev mode” is enabled (shake phone)
- Safe to test without affecting production users
- Can be deployed anytime
Production Builds:
- Promoted from development builds via the dashboard
- Visible to all users
- Requires approval/review
- Should be thoroughly tested first
Preview Your App
After deploying a development build, preview it on your device:
This generates a QR code that installs your app.
To preview development builds, you must SHAKE YOUR PHONE to enable “dev mode” in the Whop app. This allows you to see non-production builds.
Build Commands
Additional commands for managing builds:
Promoting to Production
- Deploy a development build:
pnpm ship - Test thoroughly in dev mode (shake to enable)
- Go to your app dashboard
- Navigate to the Builds tab
- Select your development build
- Click “Promote to Production”
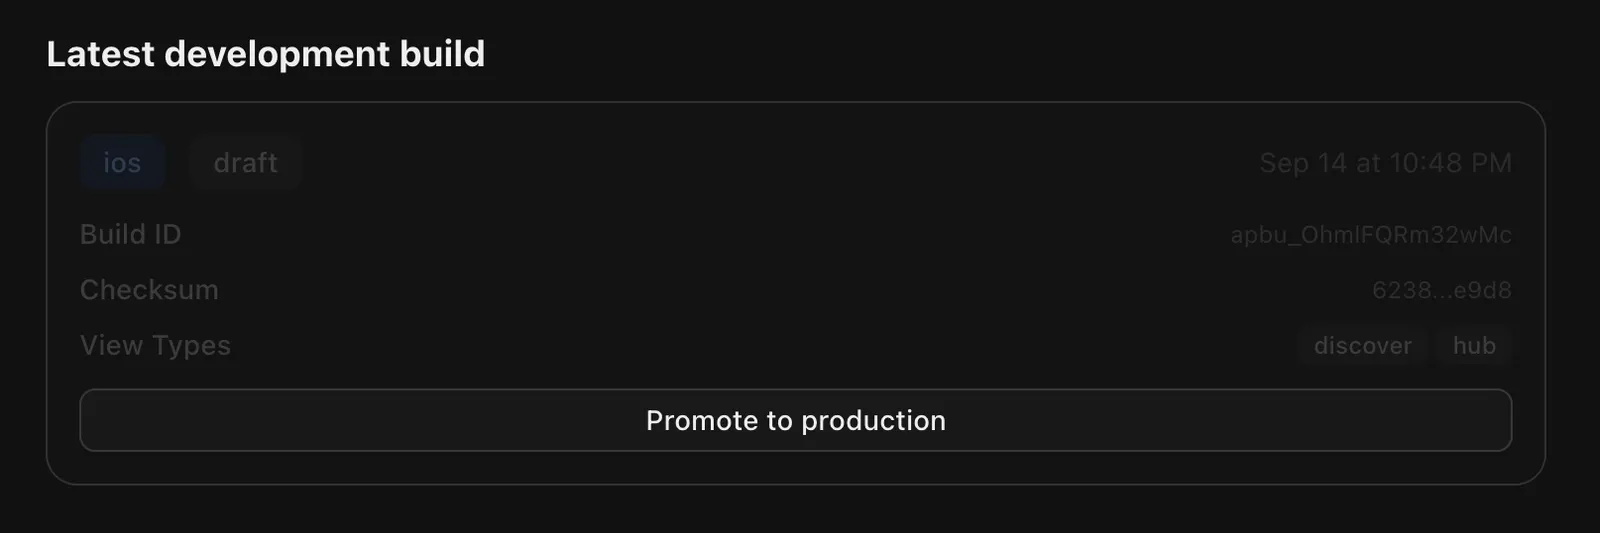
Your app will be reviewed and deployed to all users once approved.
Rollback
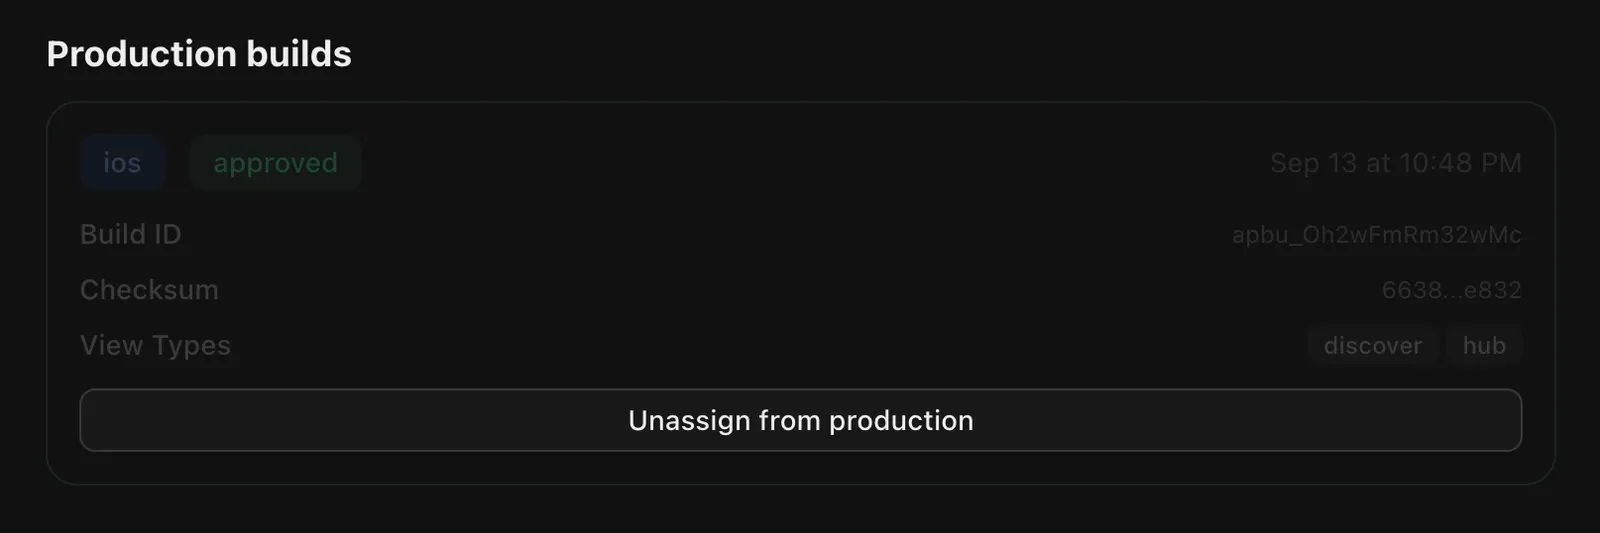
From the builds screen you can also instantly rollback to a previous production build which will be pushed live to all users across Whop.
CLI Reference
The @whop/react-native CLI provides commands for building and deploying your app:
Commands
Build Process
When you run pnpm ship, the CLI:
- Generates Entrypoints - Creates platform-specific entry files that register your views
- Bundles Code:
- Mobile (iOS/Android): Uses Metro bundler + Hermes bytecode compiler
- Web: Uses esbuild with React Native Web aliases
- Packages Assets - Collects and optimizes images and other assets
- Uploads to Whop - Creates a development build in your app dashboard
- Generates Install Link - Provides QR code for testing
Build Output
Troubleshooting
Development Build Not Showing
Problem: You deployed a development build but can’t see it in the app.
Solution: Shake your phone to enable “dev mode”. Development builds are only visible when dev mode is active.
Build Failures
Problem: Build fails with Metro or esbuild errors.
Solutions:
- Run
pnpm cleanto clear build cache - Check that all dependencies are installed:
pnpm install - Verify Node.js version:
node -v(should be 22+) - Check for syntax errors in your views
API Requests Not Working
Problem: API requests return 401 or authentication errors.
Solutions:
- Verify you’re using
apiOriginfrom__internal_execSync("getAppApiOrigin", {}) - Check that
WHOP_API_KEYis set in.env.local - Ensure your API endpoint calls
whopSdk.verifyUserToken(request.headers) - Verify the Base URL is set correctly in the dashboard
Views Not Found
Problem: Build succeeds but views don’t render.
Solutions:
- Check that view files exist in
src/views/ - Verify exports match:
export function ExperienceView(props: ExperienceViewProps) - Make sure view files end with
.tsxor.jsx
Libraries Not Working
Problem: Third-party library causes crashes on mobile.
Solutions:
- Verify the library supports React Native (not just web)
- Use recommended versions from the Using Libraries section
- Check if the library requires native modules (if so and not in recommended, it is not supported)
Platform-Specific Issues
Problem: App works on one platform but not another.
Solutions:
- Use
Platform.OSto detect platform and provide fallbacks - Test on all platforms before promoting to production
- Check if you’re using platform-specific APIs incorrectly
Next Steps
- Set up authentication for your API routes
- Accept payments with in-app purchases
- Use webhooks to handle events
- Explore the SDK reference for available APIs